AlmaLinux8.6にLAMP環境&WordPressを構築する方法
2026/08/11
だいぶ前にCentOS6系から7系に移行したが、7系も2024/6/30にサポート終了となる。今のうちにCentOS後継と言われるAlmaLinuxの構築方法を勉強しておきたい。今回はWebARENA Indigo&AlmaLinux8.6にLAMP環境&Wordpressを構築する方法をメモ。
環境について
WebARENA Indigoのメモリ1GBプランで構築作業を行う。最初は768MBプランで試そうとしたがSSH接続部分で詰まったため1GBに切り替えた。
やりたいこと
基本的には「LAMP環境&Wordpress」導入が目的だが以下も行いたい。
- PHPは8系をインストールしたい(AlmaLinux8系はデフォルトだと7.2系になるため)
- FTP接続できるようにしたい
- Let's EncryptをインストールしHTTPS接続できるようにしたい
Indigoに関する注意点
SSH接続に関して
SSH接続するには公式案内の通りユーザ名は「alma」、ポートは「22」になる。
root権限になるには
こちらも公式案内の通り以下コマンドでroot権限に昇格する。
sudo su -
環境構築の際は基本的に上記コマンドでroot権限になってから作業すること。
作業内容
ユーザーの追加
#ユーザーの追加
useradd test_user

#パスワード設定
passwd test_user

#スーパーユーザー権限追加
usermod -aG wheel test_user
useradd時にsssd関連のエラーが発生する場合はこちらの記事を参照。
尚、念のためユーザの切り替え、スーパーユーザー権限の昇格は以下で行える。
#ユーザーの切り替え
su - test_user

#スーパーユーザー権限に昇格
sudo su -
スワップ領域の作成
#swapファイルの作成
dd if=/dev/zero of=/swapfile bs=1M count=1024

#作成したファイルをswap領域に指定
mkswap /swapfile

#設定ファイルを開く
vi /etc/fstab

#再起動時にswap領域が認識されるよう以下を追記
/swapfile               swap                   swap    defaults        0 0

#再起動
reboot

#認識されているか確認
top
ちなみにtopコマンドで確認すると変更前後で以下のように内容(Swap部分)が異なる。
#変更前
MiB Mem :    964.8 total,     66.1 free,    121.7 used,    777.1 buff/cache
MiB Swap:      0.0 total,      0.0 free,      0.0 used.    696.6 avail Mem

#変更後
MiB Mem :    964.8 total,    674.4 free,    123.5 used,    166.9 buff/cache
MiB Swap:   1024.0 total,   1024.0 free,      0.0 used.    696.5 avail Mem
selinuxの停止
#selinuxの状態を確認
getenforce

#以下が表示されていると有効状態
Enforcing

#設定ファイルを書き換え
vi /etc/selinux/config

#変更前
SELINUX=enforcing

#変更後
SELINUX=disabled

#再起動
reboot
SSHの設定
#設定ファイルを開く
vi /etc/ssh/sshd_config

#書き換え前
#Port 22

#書き換え後
Port 7777

#:wqで上書き保存し以下コマンドでSSH再起動
systemctl restart sshd
この時点で22ポートからはSSH接続不可となり、7777ポートからは接続可能になる。尚、7777の部分は適宜変更すること。
日時設定
#日時設定
timedatectl set-timezone Asia/Tokyo

#日時確認
date
yumのアップデート
yum -y update
アップデート時にエラーが発生する場合(2026/08/04追記)
アップデート時にエラーが発生する場合はこちらの記事を参照。
apacheインストール
#apacheのインストール
yum -y install httpd

#apacheの起動
systemctl start httpd

#ステータス確認
systemctl status httpd

#自動起動設定
systemctl enable httpd

#自動起動確認
systemctl list-unit-files -t service | grep httpd
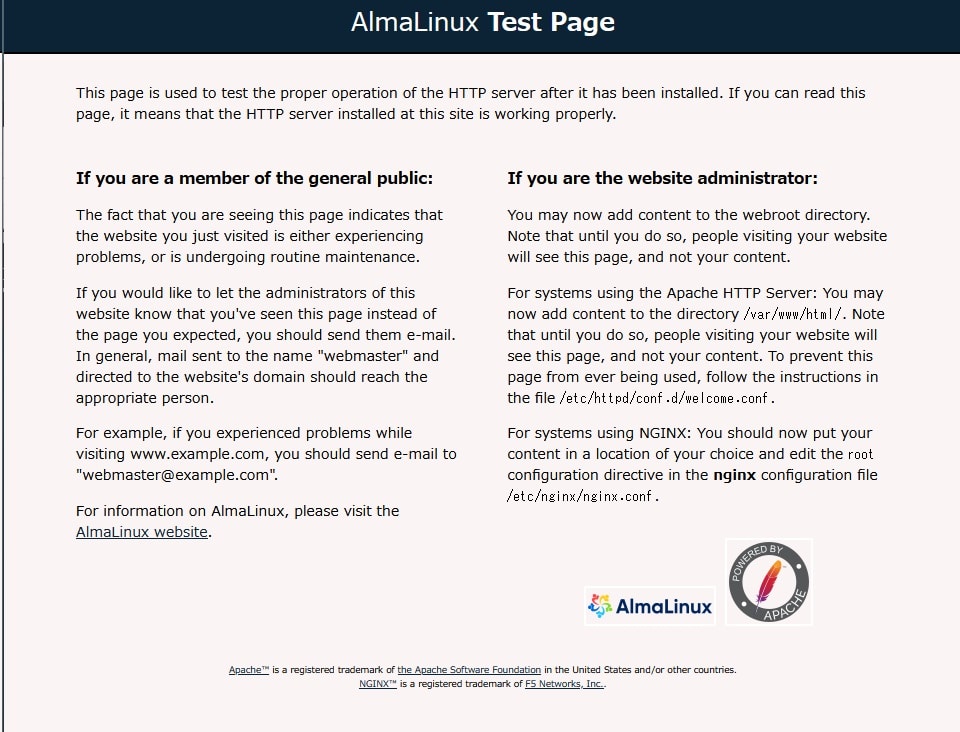
この時点でプラウザからIPアドレスでページを開くと以下のように表示される筈。
ブラウザで表示されない場合(2026/08/11追記)
WebARENA Indigoだとブラウザで表示されるがKAGOYA VPSだと表示されない筈。KAGOYAはAlmalinux側でファイアウォール設定が必要になる。その場合以下の通りapache(http / https)、FTP、SSH接続用のポートをまとめて開放しておくこと。
#http用のポート開放
firewall-cmd --permanent --add-service=http

#https用のポート開放
firewall-cmd --permanent --add-service=https

#ftp用のポート開放
firewall-cmd --permanent --add-service=ftp

#任意のポート(今回はSSH接続用)解放
firewall-cmd --permanent --add-port=7777/tcp

#設定の反映
firewall-cmd --reload

#設定確認
firewall-cmd --list-all

#以下が出力される筈
public (active)
  target: default
  icmp-block-inversion: no
  interfaces: eth0
  sources:
  services: cockpit dhcpv6-client ftp http https ssh
  ports: 7777/tcp
  protocols:
  forward: no
  masquerade: no
  forward-ports:
  source-ports:
  icmp-blocks:
  rich rules:
ドキュメントルートの設定(2026/08/11追記)
こちら検証できていないので後で書き換えるかも。
#ユーザーをapacheグループに追加
usermod -aG apache test_user

#ドキュメントルートのパーミッション設定
chmod 2775 /var/www/html

#ドキュメントルートの所有者、グループ設定
chown -R test_user:apache /var/www/html
尚、パーミッション設定時の頭の2はSGID(Set Group ID)でこちらが設定されている場合、誰がファイルを新たに作成しても親ディレクトリと同じグループ(今回だとapache)が引き継がれるというものらしい。詳しくはこちらの記事が参考になった。
PHPインストール
#epelリポジトリを追加
dnf -y install epel-release

#remiリポジトリを追加
dnf -y install https://rpms.remirepo.net/enterprise/remi-release-8.rpm

#dnfのメタデータキャッシュを作成
dnf clean all && dnf -y makecache

#インストール可能なPHPのリストを表示
dnf module list php

#以下実行結果
AlmaLinux 8 - AppStream
Name        Stream          Profiles                         Summary
php         7.2 [d]         common [d], devel, minimal       PHP scripting language
php         7.3             common [d], devel, minimal       PHP scripting language
php         7.4             common [d], devel, minimal       PHP scripting language
php         8.0             common [d], devel, minimal       PHP scripting language

Remi's Modular repository for Enterprise Linux 8 - x86_64
Name        Stream          Profiles                         Summary
php         remi-7.2        common [d], devel, minimal       PHP scripting language
php         remi-7.3        common [d], devel, minimal       PHP scripting language
php         remi-7.4        common [d], devel, minimal       PHP scripting language
php         remi-8.0        common [d], devel, minimal       PHP scripting language
php         remi-8.1        common [d], devel, minimal       PHP scripting language
php         remi-8.2        common [d], devel, minimal       PHP scripting language
php         remi-8.3        common [d], devel, minimal       PHP scripting language

#PHP8.3を指定
dnf -y module reset php && dnf -y module enable php:remi-8.3

#再度インストール可能なPHPのリストを表示
dnf module list php

#以下実行結果となりremi-8.3に[e]がついている(enabledになっている)点が確認できる
AlmaLinux 8 - AppStream
Name       Stream             Profiles                        Summary
php        7.2 [d]            common [d], devel, minimal      PHP scripting language
php        7.3                common [d], devel, minimal      PHP scripting language
php        7.4                common [d], devel, minimal      PHP scripting language
php        8.0                common [d], devel, minimal      PHP scripting language

Remi's Modular repository for Enterprise Linux 8 - x86_64
Name       Stream             Profiles                        Summary
php        remi-7.2           common [d], devel, minimal      PHP scripting language
php        remi-7.3           common [d], devel, minimal      PHP scripting language
php        remi-7.4           common [d], devel, minimal      PHP scripting language
php        remi-8.0           common [d], devel, minimal      PHP scripting language
php        remi-8.1           common [d], devel, minimal      PHP scripting language
php        remi-8.2           common [d], devel, minimal      PHP scripting language
php        remi-8.3 [e]       common [d], devel, minimal      PHP scripting language

#PHPをインストール
dnf -y install php php-cli php-fpm php-devel php-pear php-curl php-mysqlnd php-gd php-opcache php-zip php-intl php-common php-bcmath php-imagick php-xmlrpc php-json php-readline php-memcached php-redis php-mbstring php-apcu php-xml php-dom php-redis php-memcached php-memcache php-process

#インストールされたPHPのバージョンを確認
php -v

#実行結果
PHP 8.3.2 (cli) (built: Jan 16 2024 13:46:41) (NTS gcc x86_64)

#apacheの再起動
systemctl restart httpd

#PHPの動作確認
echo "<?php phpinfo(); ?>" > /var/www/html/info.php
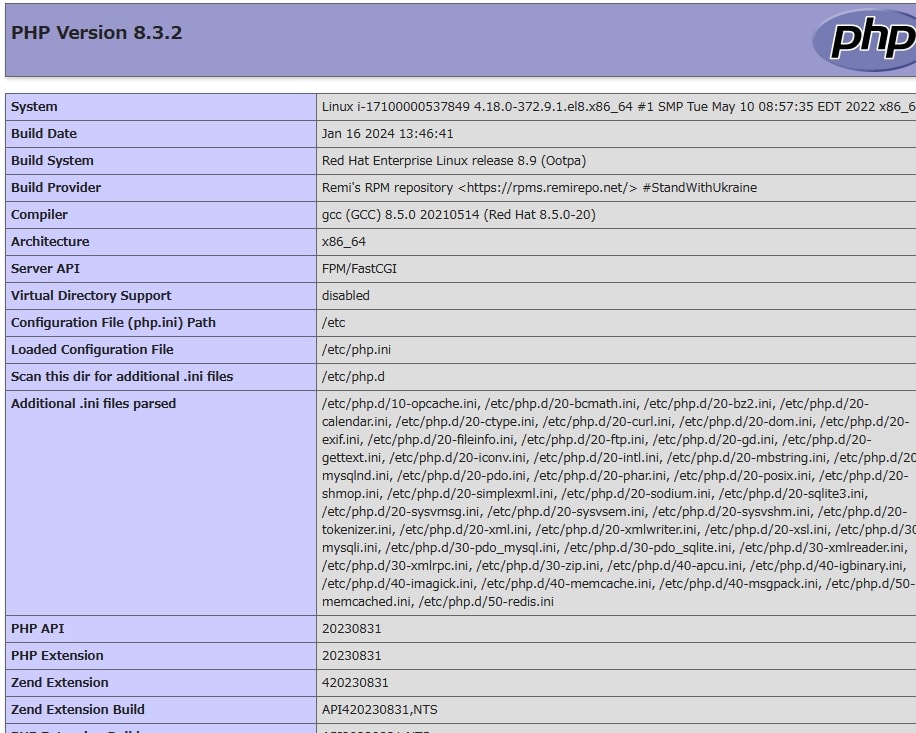
ブラウザから「IPアドレス/info.php」を開くと以下ページが表示される筈。
MySQLインストール
#MariaDB削除
yum -y remove mariadb-libs

#MySQLのインストール
dnf -y install mysql-server mysql

#バージョン確認
mysqld --version

#以下実行結果
/usr/libexec/mysqld  Ver 8.0.32 for Linux on x86_64 (Source distribution)

#MySQLの起動
systemctl start mysqld

#ステータス確認
systemctl status mysqld

#自動起動設定
systemctl enable mysqld

#自動起動確認
systemctl list-unit-files -t service | grep mysqld

#MySQLセキュリティ設定
mysql_secure_installation
セキュリティ設定は基本的に「y」で進んでいくといいが以下の2点だけ注意。
以下を聞かれたときはrootのパスワードを入力する。
Please set the password for root here.

New password:

Re-enter new password:
以下が聞かれたときは0 / 1 / 2を入力する必要がある。以前CentOS6から7に移行した際にMySQLでパスワードが変更できないというトラブルがあったため今回は0にした。
There are three levels of password validation policy:

LOW    Length >= 8
MEDIUM Length >= 8, numeric, mixed case, and special characters
STRONG Length >= 8, numeric, mixed case, special characters and dictionary                  file

Please enter 0 = LOW, 1 = MEDIUM and 2 = STRONG:
セキュリティ設定完了後は以下コマンドでログインできるか確認する。
mysql -u root -p
FTPサーバのインストール
#FTPサーバのインストール
yum -y install vsftpd

#設定ファイルを開く
vi /etc/vsftpd/vsftpd.conf
設定ファイルの変更内容は以下の通り。
#以下を追記もしくはコメントアウトを外す
chroot_local_user=YES
chroot_list_enable=YES
allow_writeable_chroot=YES

#コメントアウトを外す
chroot_list_file=/etc/vsftpd/chroot_list
ls_recurse_enable=YES

#以下を追記し:wqで上書き保存
local_root=public_html
use_localtime=YES
local_root=/var/www/html
force_dot_files=YES
上書き保存後は以下の通り進める。
#上層へのcdを許可するユーザーを設定する
vi /etc/vsftpd/chroot_list

#ファイルが開くのでユーザー名を追記して:wqで上書き保存
test_user

#FTPサーバの起動
systemctl start vsftpd

#ステータス確認
systemctl status vsftpd

#自動起動設定
systemctl enable vsftpd

#自動起動確認
systemctl list-unit-files -t service | grep vsftpd
この時点でFFFTP等のクライアントソフトで接続できる筈。尚、正常に接続できない場合はselinuxが停止しているか要確認(私の環境だと正常に停止できておらず接続できなかった)。
Let's Encryptインストール
#SSL関連のパッケージとcertbotをインストール
yum -y install openssl mod_ssl epel-release certbot

#証明書を作成(xxxxx.comは適宜変更する。また、テストしたい場合は後ろに--dry-runをつける)
certbot certonly --webroot -w /var/www/html/xxxxxxx -d xxxxx.com

#その後メールアドレスを入力する

#バーチャルホスト設定
vi /etc/httpd/conf.d/virtual.conf

#以下を追記(xxxx.com部分は適宜変更する)
<VirtualHost *:80>
    ServerAdmin xxxx.com
    DocumentRoot /var/www/html/xxxx.com
    ServerName xxxx.com
    ErrorLog logs/error_log
    CustomLog logs/access_log common
</VirtualHost>

<VirtualHost *:443>
    ServerAdmin xxxx.com
    DocumentRoot /var/www/html/xxxx.com
    ServerName xxxx.com
    ErrorLog logs/error_log
    CustomLog logs/access_log common

    SSLEngine on
    SSLCertificateFile /etc/letsencrypt/live/xxxx.com/fullchain.pem
    SSLCertificateKeyFile /etc/letsencrypt/live/xxxx.com/privkey.pem
    NameVirtualhost *:443
</VirtualHost>

#apacheの再起動
systemctl restart httpd
ドメインを割り当てられていればこの時点でHTTPS接続できる筈。尚、必要に応じてSSL証明書の自動更新設定を以下の形で登録しておく。
#Cronをrootで設定
crontab -u root -e

#以下を記述する
00 04 01 * * certbot renew && systemctl restart httpd
ここまででLAMP環境の構築は完了。
WordPressインストール
#ディレクトリの移動
cd /var/www/html

#wgetのインストール
yum -y install wget

#WordPressのファイルをダウンロード
wget https://ja.wordpress.org/latest-ja.tar.gz

#ファイルを展開
tar zxvf latest-ja.tar.gz

#ディレクトリの所有者を変更
chown -R apache:apache wordpress

#WordPressのファイルを削除
rm latest-ja.tar.gz

#mysqlにインストール
mysql -u root -p

#パスワードポリシーをLOWに変更する
set global validate_password.policy=LOW;

#ユーザーの作成
CREATE USER 'test_user' IDENTIFIED BY 'test_pass';

#権限の変更
GRANT ALL ON *.* TO test_user;

#データベースの作成
CREATE DATABASE wordpress;
先ほどMySQLのセキュリティ設定でパスワード検証ポリシーを0にしたけど、改めて「set global validate_password.policy=LOW;」を指定する必要があった。
尚、この時点で「ドメイン/wordpress」をブラウザから開くと以下のページが表示される筈。
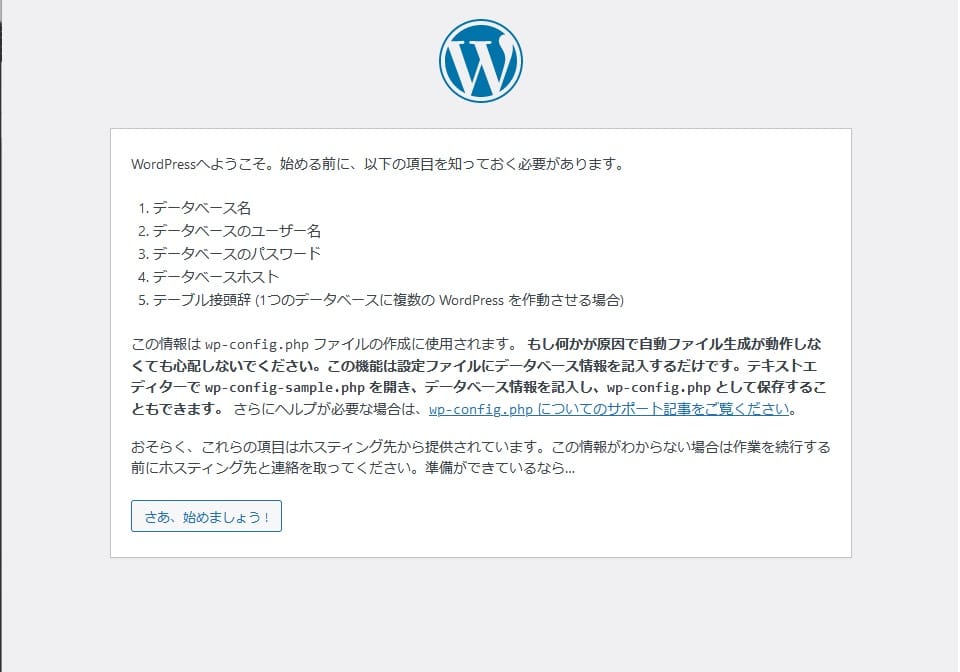
案内の通り進めていくと以下WordPressページが表示される。

所感
CentOS後継と言われるだけあって基本的にはCentOS7の環境構築と同じように作業できた。しばらく触ってみて問題無さそうなら移行しようと思う。
関連記事
-

-
Let's Encryptの自動更新時「Failed to renew certificate~」エラーの対応方法
CentOSからAlmaLinuxに移行後、初めてのLet's Encrypt更 ...
-
-
VPSに無料SSLのLet's Encryptを導入
SSLといえば有料という認識だったが、無料のものも出てきているという話を聞いた。 ...
-

-
Podmanで作成したApache用コンテナにLet's Encryptを導入しHTTPS接続できるようにする方法
先日Podmanで作成したApache用コンテナに対してドメインを割り当てたが、 ...
-

-
CentOS6系から7系に(KAGOYAからIndigoに)移行した際のメモ
CentOS6系から7系に、さらにKAGOYAのVPSからWebARENA In ...
-
-
サーバ移行の際にLet’s EncryptをDNS認証で対応する方法
近々CentOS7系からAlmaLinux8系への移行(サーバも移行)を検討して ...